안녕하세요.

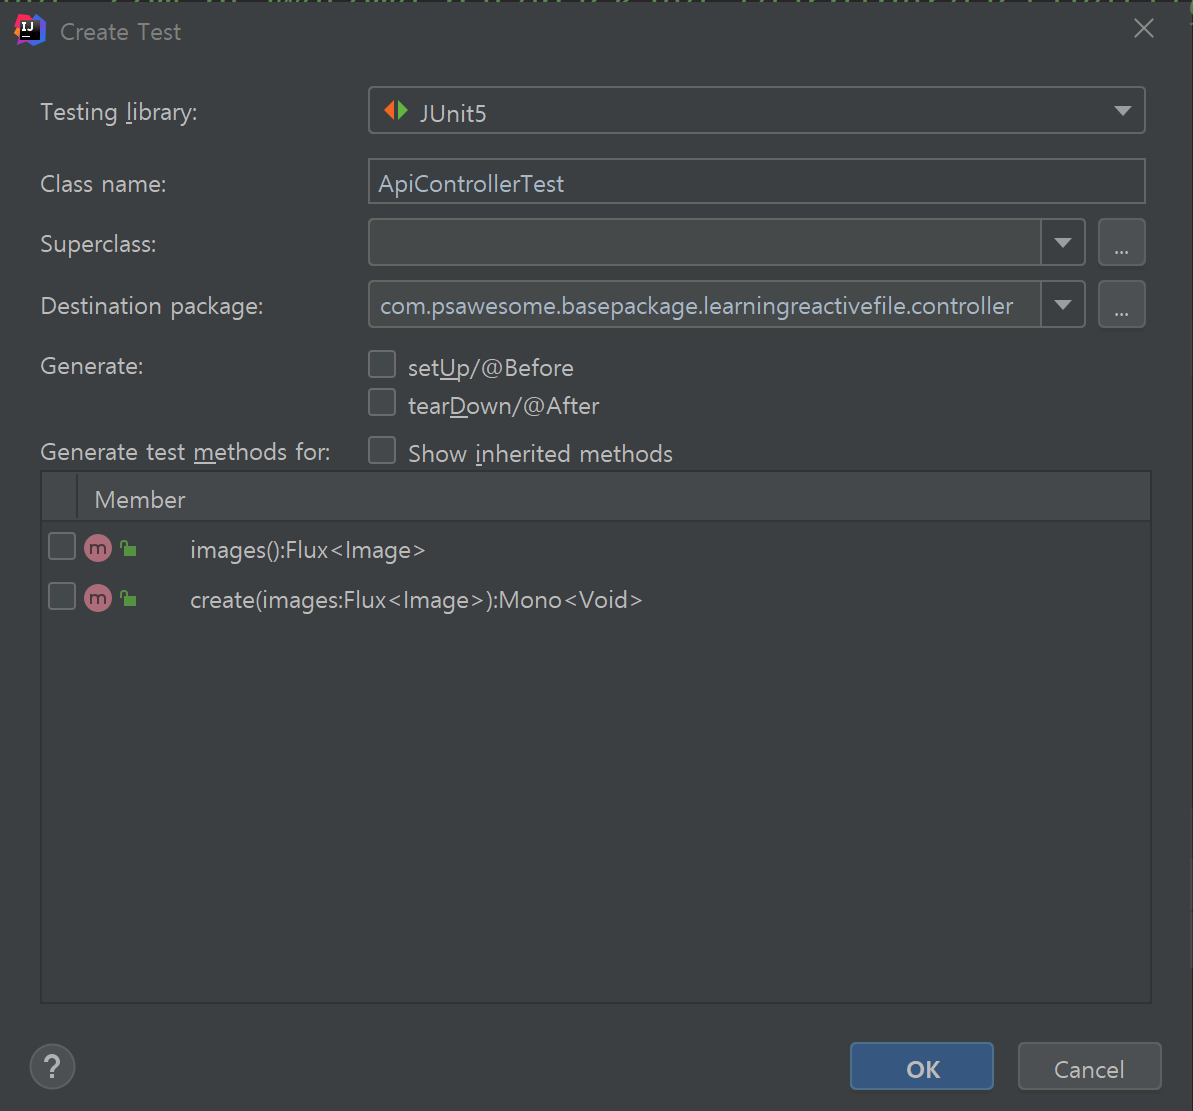
스프링 부트 이니셜라이저로 프로젝트를 생성하면 useJUnitPlatform이 추가되는데요, 의존성 추가된 것을 보면 어떠한 것을 사용하는지 확인할 수 있습니다.


추가로 집에서 사용하는 IDEA는 최신 버전으로 업데이트 하는데 의존성 때문인지, IDEA 업데이트 때문인지 기본 값으로 JUnit 5로 생성해주더라고요.

이번엔 버전을 내리지 않고 5의 Annotation을 사용하는 방법을 익혀보려고 합니다.
예제를 위한 gradle.build 파일도 글에 포함하였습니다.
thymeleaf는 사용하지 않습니다.
plugins {
id 'org.springframework.boot' version '2.2.2.RELEASE'
id 'io.spring.dependency-management' version '1.0.8.RELEASE'
id 'java'
}
group = 'com.psawesome.basepackage'
version = '0.0.1-SNAPSHOT'
sourceCompatibility = '11'
targetCompatibility = '11'
configurations {
compileOnly {
extendsFrom annotationProcessor
}
}
repositories {
mavenCentral()
maven { url "https://repo.spring.io/milestone" }
}
dependencies {
implementation 'org.springframework.boot:spring-boot-starter-thymeleaf'
implementation 'org.springframework.boot:spring-boot-starter-data-mongodb-reactive'
implementation ('org.springframework.boot:spring-boot-starter-webflux')
testImplementation('org.springframework.boot:spring-boot-starter-test') {
exclude group: 'org.junit.vintage', module: 'junit-vintage-engine'
}
testImplementation 'io.projectreactor:reactor-test'
}
test {
useJUnitPlatform()
}
다루는 Annotation은 @TestMethodOrder 입니다.
@TestMethodOrder
package com.psawesome.basepackage.learningreactivefile.employee.query;

import com.psawesome.basepackage.learningreactivefile.employee.repo.EmployeeRepository;
import org.junit.jupiter.api.*;
import org.junit.jupiter.api.extension.ExtendWith;
import org.springframework.beans.factory.annotation.Autowired;
import org.springframework.boot.test.autoconfigure.data.mongo.DataMongoTest;
import org.springframework.data.mongodb.core.MongoOperations;
import org.springframework.data.mongodb.core.ReactiveMongoOperations;

import static org.junit.jupiter.api.Assertions.assertNotNull;

@DataMongoTest
public class QueryTests {

    final EmployeeRepository repository;

    final ReactiveMongoOperations operations;

    final MongoOperations mongoOperations;

    @Autowired
    public QueryTests(EmployeeRepository repository, ReactiveMongoOperations operations, MongoOperations mongoOperations) {
        this.repository = repository;
        this.operations = operations;
        this.mongoOperations = mongoOperations;
    }

    @BeforeAll
    static void beforeAll() {
        System.out.println("QueryTests.beforeAll");
    }

    @BeforeEach
    public void setUp() {
        System.out.println("QueryTests.setUp");
    }

    @Test
    void checked_dependency() {
        assertNotNull(repository);
    }

    @Test
    void checked_dependency_RMO() {
        assertNotNull(operations);
    }

    @Test
    void checked_dependency_MO() {
        assertNotNull(mongoOperations);
    }

}
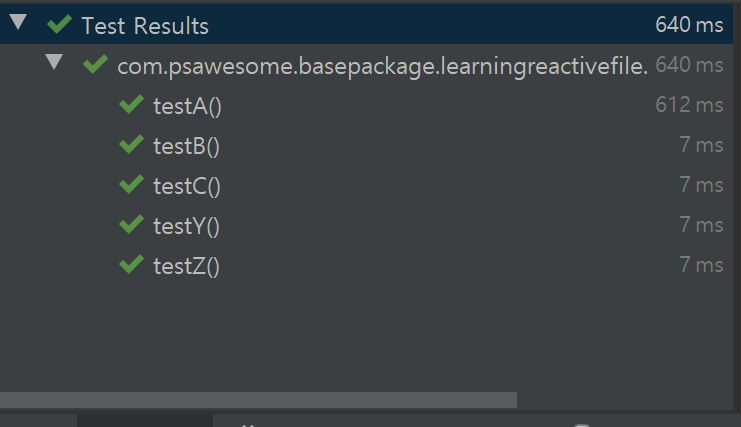
위 예제를 실행 결과입니다.

위 예제로 실행한 순서는 직관적이지 않습니다만, JUnit 5 가이드에서 실행 순서의 보장과 방법에 대해 설명해주고 있습니다.
@Target(ElementType.TYPE)
@Retention(RetentionPolicy.RUNTIME)
@Documented
@Inherited
@API(status = EXPERIMENTAL, since = "5.4")
public @interface TestMethodOrder {

	/**
	 * The {@link MethodOrderer} to use.
	 *
	 * @see MethodOrderer
	 * @see MethodOrderer.Alphanumeric
	 * @see MethodOrderer.OrderAnnotation
	 * @see MethodOrderer.Random
	 */
	Class<? extends MethodOrderer> value();

}
@TestMethodOrder
- MethodOrderer.Alphanumeric.class
- 문자와 숫자 조합으로 실행 순서를 결정
- MethodOrderer.OrderAnnotation.class
- @Order 로 결정
- MethodOrderer.Random
위 예제에서 실행순서 보장
아무런 설정 없이 Method 이름을 순차적으로 변경해주는 방법.
    @Test
    void testA() {
        System.out.println("QueryTests.testA");
        assertNotNull(repository);
    }

    @Test
    void testB() {
        System.out.println("QueryTests.testB");
        assertNotNull(operations);
    }

    @Test
    void testY() {
        System.out.println("QueryTests.testY");
    }

    @Test
    void testZ() {
        System.out.println("QueryTests.testZ");
    }

    @Test
    void testC() {
        System.out.println("QueryTests.testC");
        assertNotNull(mongoOperations);
    }

두 번째는 MethodOrderer.Alphanumeric.class를 추가하는 방법입니다.
@TestMethodOrder 인자로 MethodOrderer.Alpahnumeric 타입을 전달합니다.
@DataMongoTest
@TestMethodOrder(MethodOrderer.Alphanumeric.class)
public class QueryTests {

...
테스트 메서드 이름의 첫 글자부터 정렬이 이루어집니다.
실행 결과 메서드로 확인이 가능합니다.


세 번째는 MethodOrderer.OrderAnnotation.class 사용입니다.
@TestMethodOrder에 인자로 해당 타입을 전달합니다.
...

@TestMethodOrder(MethodOrderer.OrderAnnotation.class)
public class QueryTests {

...
각 method에 @Order를 추가하여 사용자가 원하는 순서를 지정합니다.
    @Test
    @Order(5)
    void checked_repository() {
        System.out.println("QueryTests.checked_repository");
        assertNotNull(repository);
    }

    @Test
    @Order(3)
    void checked_RMO() {
        System.out.println("QueryTests.checked_RMO");
        assertNotNull(operations);
    }

    @Test
    @Order(4)
    void testA() {
        System.out.println("QueryTests.testA");
    }

    @Test
    @Order(1)
    void testZ() {
        System.out.println("QueryTests.testZ");
    }

    @Test
    @Order(2)
    void checked_MO() {
        System.out.println("QueryTests.checked_MO");
        assertNotNull(mongoOperations);
    }
실행 결과는 다음과 같습니다.

감사합니다.
'Test > JUnit5' 카테고리의 다른 글
| Junit 5 시작하기 - 빈 프로젝트에서 (0) | 2020.05.14 |
|---|